Monday 26 December 2011

The hippy scarf...

I bought a brown and orange-multi scarf... unravelled... and now have some sleep-slippers

...and wrist-warmers! Yay!

Wednesday 14 December 2011

Friday 9 December 2011

Thursday 8 December 2011

Hand-weaving How-to.

I love these hand-weaving sticks, but the instructions have no pic's, so here we go.
 Threading the spare yarn thro' the end of the sticks means you can weave with thicker material which wouldn't otherwise fit through that small hole, plus it's easier to finish off by cutting the spare (scrap) yarn instead of your posh stuff.
 Don't knot the warp (up and down) thread - you'll just end up with a lump to slide your weft over.
 Better to make the weft too long than not long enough.
 OK, now's the time to knot your warp - just one big over-hand knot to keep it tidy and prevent the work from falling off at the other end.
 Holding the end, start to weave your weft (remember, the weft goes from 'weft to right'), in an under-over-under fashion. It might feel a little wobbly at first, but do persevere.


That's about it!

Motifs. No-Sew Join as You Go

How many times have we been put off from making a lovely motif blanket, waistcoat or whatever but been put off by those dreaded words "Now weave in all the ends and sew the motifs together."  Whut?
Noooooooooooooo...
You don't have to do that!
Here's a joining method that's so-ooo easy to do - why don't more people use it?
Spread the word!
OK, here's how.
First, make one complete motif. I'm using a basic granny square, with a 3tr-3ch-3tr group in the corners, and at the sides, 1ch between the 3tr blocks.
It honestly doesn't really matter what kind of pattern you're using - the technique's the same, as long as it's one that has some chain along the final round.
Now, make another - complete all rounds except the final one.
Let's say we're going to join in a strip, to begin with.

Here's a completed 3-round motif (purple), and another one with just two rounds.


Start the final round of the second motif by joining on a new colour - in this case, a lovely orange. Double the new yarn over, hook it through a corner chain-space (see left), and make 3 chain to equal your first treble using both strands (below).


This makes a secure fasten-on, and you can then lie the remaining thread along the top of your work and cover it as you go - orange on orange will show less than orange on brown, for example.

Work round to your next corner, and make 3tr, and the first one of the 3ch. See left.


Now, here's the slightly tricky bit.
Push your hook into the corner chain space of the first motif - the purple one (see below).


Now, work a slip-stitch... 
...then another chain, and then the rest of the group.

Instead of working a chain before the next group of trebles, do another s/s into the corresponding gap.

Work from one motif to the other until you've reached the next corner.
 Ta-daaaaaa!
Now, if you are joining the sides, too, just carry on round in the same fashion, incorporating the next-door motif as you go.
Watch this space for more joining options.

Monday 10 October 2011

Beginnng Crochet...

Wow! I thoroughly enjoyed that session - we've some more workshops coming up, so keep your eyes peeled, y'all.

Friday 30 September 2011

Wednesday 27 July 2011

Hooked!

Having seen the price of mega-large crochet hooks (approx £15 a go) I thought about making my own. I mean, some people have made their own large knitting needles, so how hard could it be? I wanted about 25-30 mm width for my first one, so I began with an old curtain pole.
You can see my pencil markings, and the starter cuts, but it proved too hard with the tools I had.
Then I found a stray piece from a conifer - much softer, and set to on that. So keen was I to make inroads, that I was peeling the bark off on the way home...
Yes, I know - it looks like a Viking V1br8 thing, but I'm pleased with it so far... It just needs a bit more sanding.
Hey, I might even go into business!

Monday 27 June 2011

Wristwarmers for a Friend

Basic, in lush, lush purple.
Just a simple square joined at top and bottom, with a gap for the thumb.
If I make another pair I may 'step-by-step' it...

Friday 24 June 2011

Headphone Hugger

What else can I call it?
I can't show the whole thing as the server has rejected the piccy - it's simply a cosy for my headphones, to help prevent 'em tangling...

Tuesday 21 June 2011

Doggy Bag


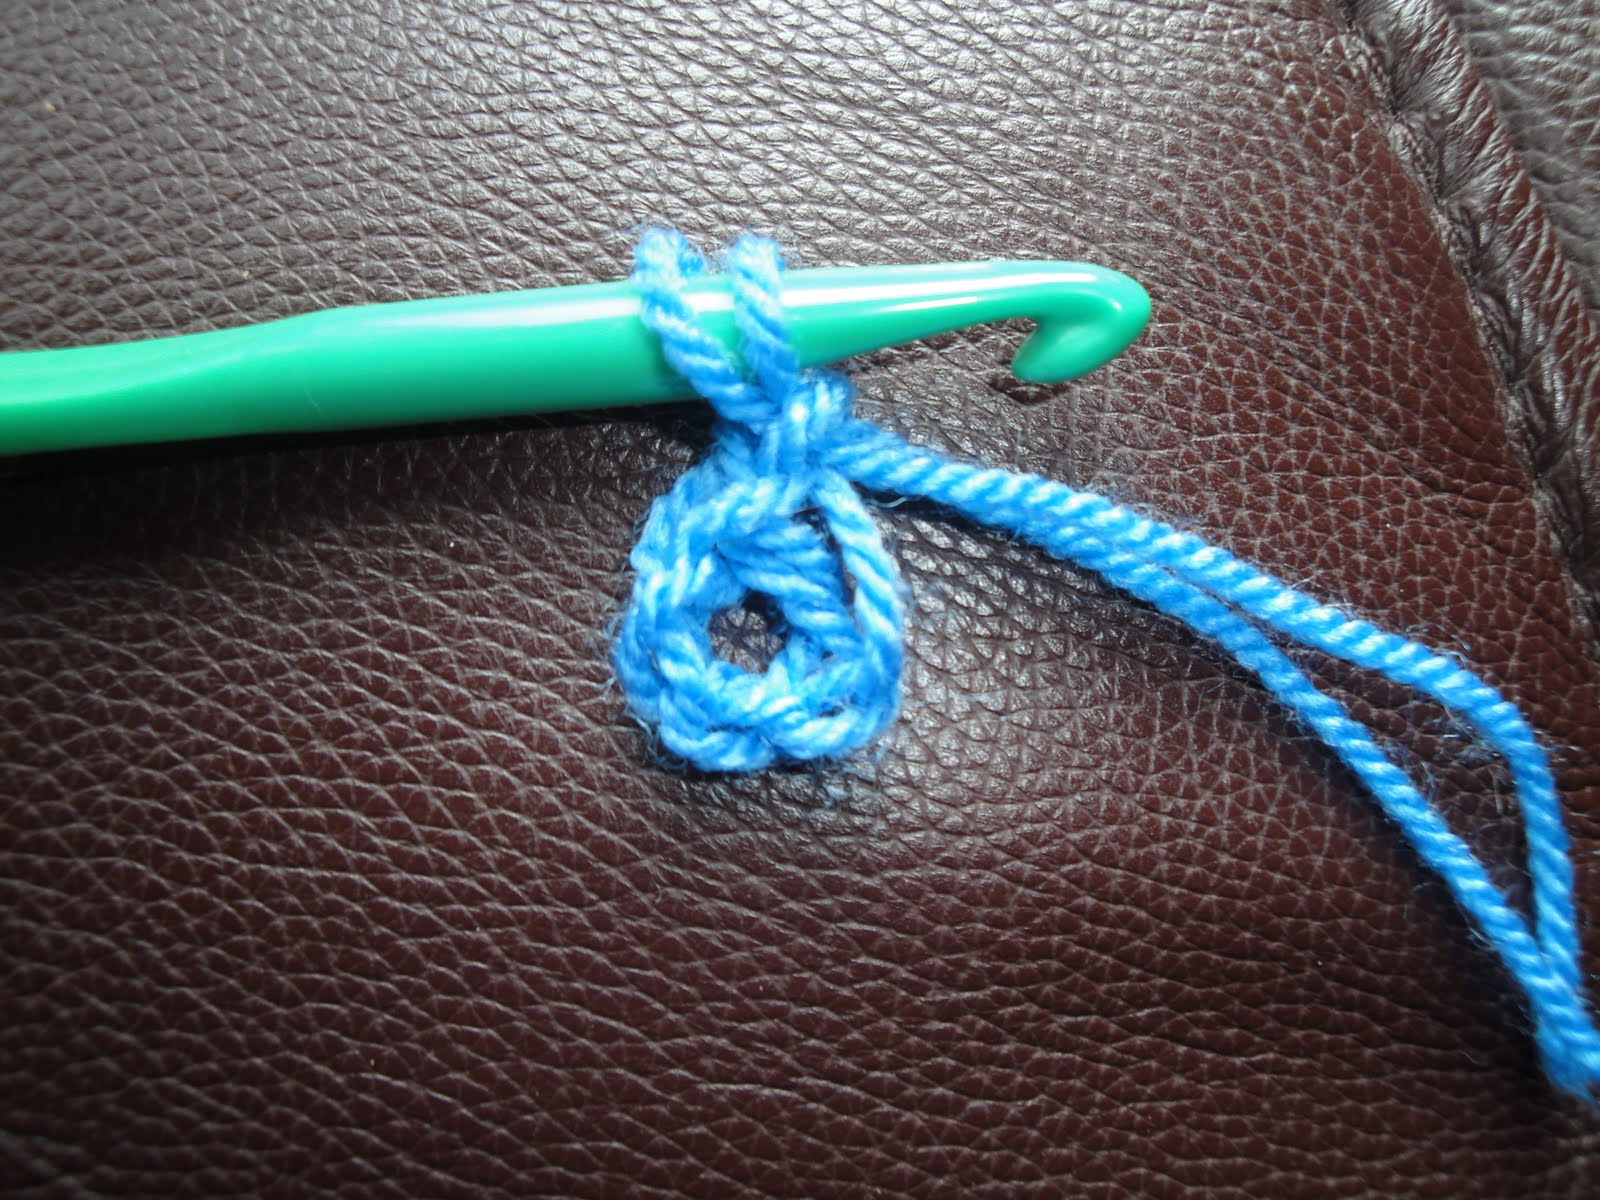
Start by making the ears – two the same.
Make 3 - 4 ch and s/s join (ie s/s in 3rd (or 4th) ch from hook), or do a magic loop. Leave tail after a st or two, so that it's secure, but you'll need that loose tail later on.
Row 1 - 1 Ch, then 5 DC in loop = 6 DC.  Turn, do 1 ch (as 1st DC)
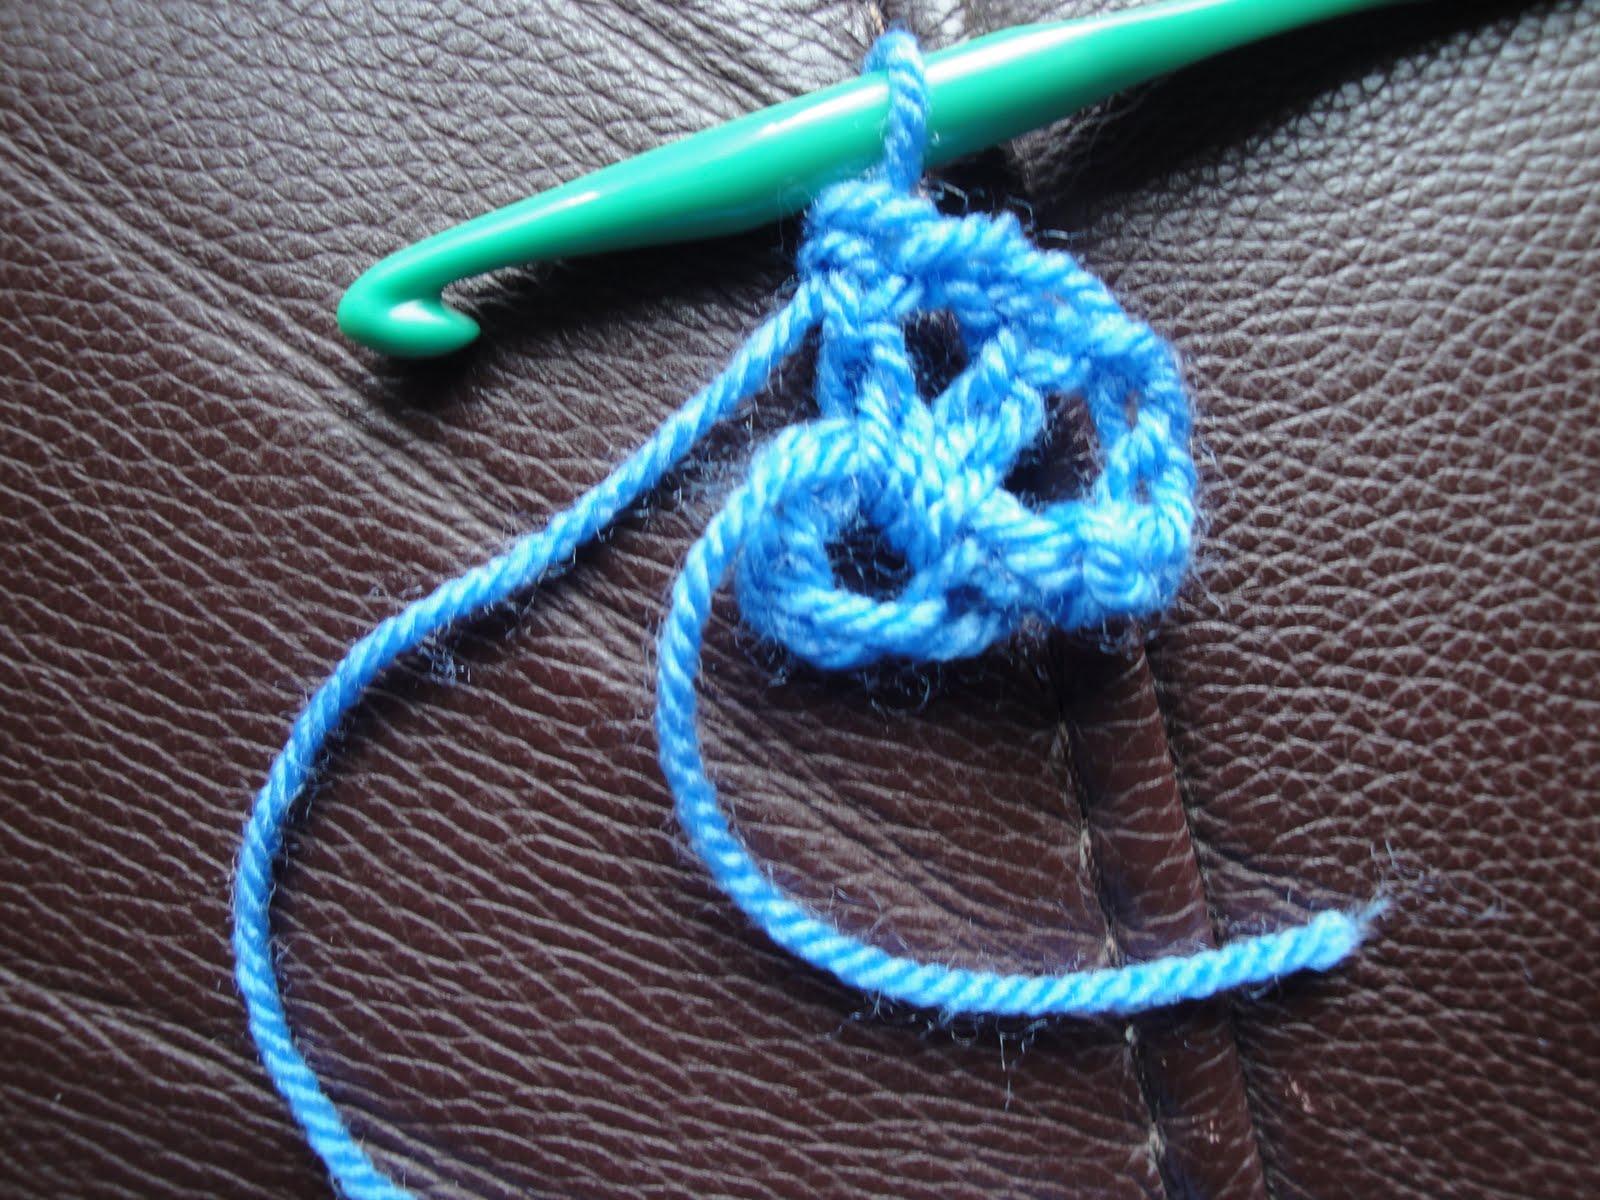
Row 2 – Make 3 increases
Row 3 – work straight
Row 4 – make 3 increases
Row 5 – work straight
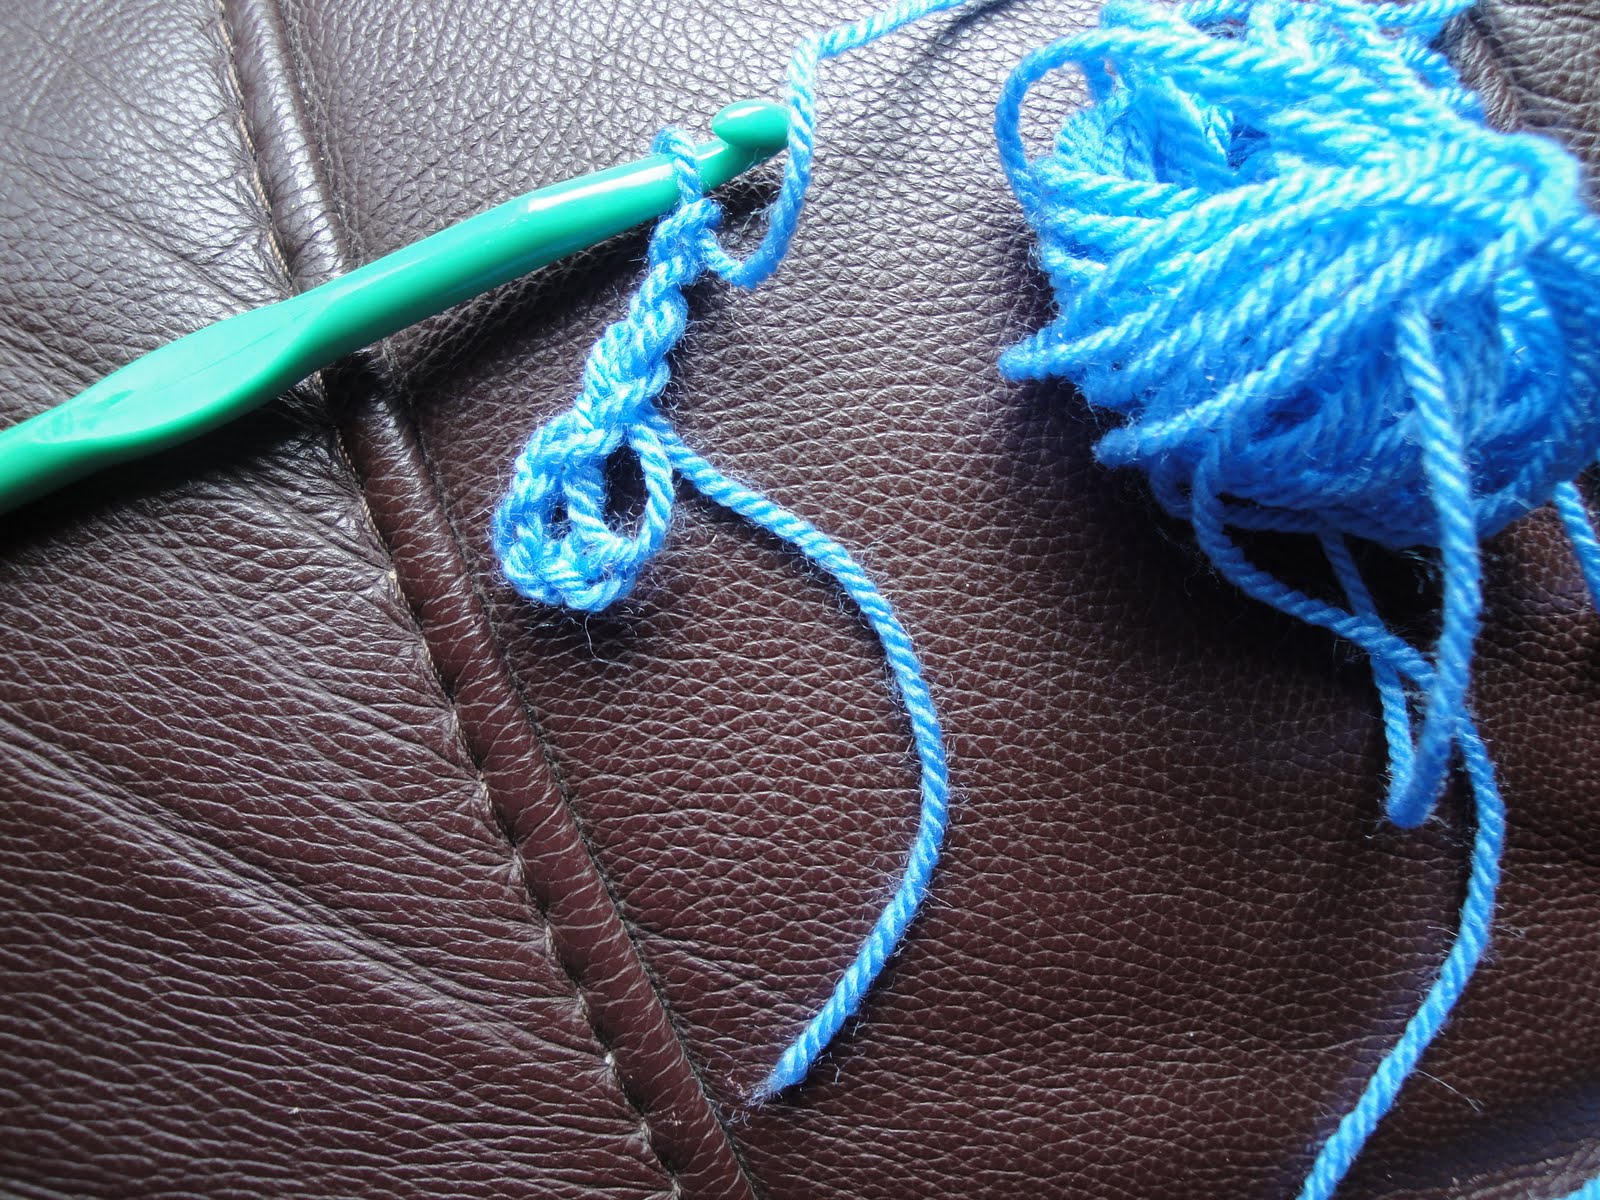
Fasten off – leave tail for now, as I said.

Main Bag
Work a length of chain a bit shy of the desired finished width.
Work s/s into the spine of the ch. 
Not this side… 

… but this one… 


Working in slip stitch instead of DC for this first row makes a nice, close, base for your bag.  This also works for sock toes. Oh, and keep the tail of the yarn out once it’s secured as this helps you keep track of your rounds.
After the final s/s, work 1 ch, then work 2 DC into the next sp. You are turning the corner.
Work DC until the last st, then 2 DC in that final one. 1 DC (round the next corner), then 2 DC. 
Note, you are not doing a s/s join and 1 ch to get to the next row, you are now working in a spiral.

Next round – at the ends work an increase in the two sts either side of the centre one…
Now, stop and squish the long oval together. Look at the shape.  

Does that come out enough?  Carry on, making two increases at each end until you’re happy with the shape, then work straight.
Once the bag has reached the height you require, you can start the strap and then the flap, including those dinky ears.

For the strap, you can simply do a 3-dc strip.  All you do is DC to just past the side (when the work is held flat), then turn, 1 ch (as first DC), work two DC, turn, etc.  You could also work a long row of chain stitch for the strap, then either DC or s/s back along once you’ve attached it to the other side of the bag.  This latter makes a neat square cord, and that’s what I chose to do this time, as I was running out of yarn...

Once your strap is finished, it’s time to start the flap.  Again, just stop and turn where you want it to be.
After a couple of rows, place the ears (you’ll need to count sts) behind your work, and as you DC across just work into both the ear and the flap.  

Slightly clearer piccy...
To get a good curve on the ears, don’t work into the ends at this stage, but leave them ‘unattached’ and sew them down later, a couple of rows higher up.
Here goes...
Now, after a few more rows (you be the judge) decrease at the end of each row, work a row straight, then do another decrease row.

Make your buttonhole as follows:  Using scrap yarn, thread your button onto the main part of the bag.
NOTE – this is NOT a proper fix-on just yet, it’s just so you can judge whether the buttonhole is the right size.


OK… now work out where the middle of your row is, and, counting outwards, work out where you plan to put your buttonhole.  Once you’ve reached that spot in the row, work X chain and miss X sts before carrying on to end of the row,
Turn.
You can also make this a decrease row, if you like.  Work across the row, then when you come to the chain, work INTO it (not underneath, a la granny) and carry on across.
Now test your buttonhole.  If the fit feels right – yay – you can fasten off – or do one more row if you like.  If it doesn’t feel right, just rip back and try again…
All you need to do now is attach the button (nose) properly with needle and thread, add the eyes, and attach the ends of the ears.  You can, if you’re careful, do these last two (the eyes and the ears) with one length of thread – just take care not to pucker the work, and to hide the thread well as you go.

That’s it! 
Tidy your ends, and you can go and play.
Lining is an option – but that’s a whole new ball-game.

Monday 20 June 2011

Wobbly Yarnbombing

OK, here's my first attempt at 'outside crochet'. Can't exactly call it yarnbombing 'cos it's our own house, tho' I hadn't had permission from the Lord and Master.

The string was a lovely soft cotton one from ASDA - six balls for £2.00, and I used under two for this project.

Yep - very wobbly...

Sunday 5 June 2011

Two-Tees Dress - So-ooo Random!

I can't believe I did this - and it worked!
I started with an old just-past-waist-length (yes, I still have a waist...) striped tee-shirt.

First, I unpicked the hem...
Then I salvaged another tee... 

 ...cut it off under the arms, and stitched it to the original, striped one, with the raw edges outwards, to hide any imperfections - in the sewing, that is. I have a perfect body (yeh, right).

Ta-daaaaaaa!

I apologise for not showing proper 'how to' stages - I was too eager to get it done to stop and take pic's.

Wednesday 18 May 2011

Crocheted Bunting!

I have altered an existing 'recipe' for granny triangles - I may change it further, 'cos I'm still getting a curl...
Made in acrylic to last in all weathers. It's left-handed...
OK... work 4 chain and slip stitch join, or do a magic loop.

Now, INCORPORATING the tail end in the first chain, work 4 ch as your first 'treble plus one chain' (US DC).  This helps to secure the end - bunting is intended to last for years, and may be flapping about in all weathers, so making joins secure in this manner is very important.
As you can see, the tail is still at the bottom, but it has been looped in with the first chain.  Now you can carry it along the top of the stitches as you work into the ring so it will be hidden away.
Now, remembering to lie the tail along the top, work 1 treble, 1 chain a further 8 times, and s/s (slip stitch) join. Now you have 9 stitches.
Fasten off, and join a new colour into any ch-sp (chain space). 3 chain, 2 trebles in the first ch-sp, remembering to incorporate the tail of both colours in the first loop of the 3-ch (which makes the first treble, of course), and carry along as before.
In each following ch-sp, work 3 treble, as I have, above, in the pale green.  S/s join.
Now to make it into a triangle.  Join a new colour in any space between the groups (it's not a ch-sp - you didn't miss anything).  In the corners work 3 tr, 3 ch and 3tr. In the next 2 spaces work 3 HALF TREBLES then 1 ch (sorry for shouting), this makes the shape less rounded and more triangular. Then another corner and a further 2 htrs, and one more corner and 2 more htrs. S/s join. For dinky bunting, you can stop right there.  For larger, start new colour. in any space, as before.
All subsequent rows are the same 'recipe'. My bunting has 6 rows altogether. Work corners as row 3, for the sides work 3 tr in each space, with 1 ch in between. That's about it.  They can be strung up with a long chain threaded in and out of the spaces along one side, or use ribbon, plain yarn or even string.  Whatever floats your bunting.
When I have time I may have a fiddle with the pattern.  I'd be glad of any (polite, helpful) comments, or queries.