Update!
The clay 'blanket' can be seen, until 19th June, at the Morley College in London. Woot!
Thursday, 5 June 2014

Thursday, 16 January 2014
My Blanket OF the Ground
A lot has been going on in my life this past year or so, and I won't bore you with the details, but as part of my journey I am now back at college, doin' a bit of the arty-farty.
 |
| A crochet blanket that had been stowed away for years finally got completed, and it will take pride of place in whichever house I land up in. I love it. |
 |
We were fuffing about with clay and I got my hands on a hexagonal tile cutter. Ideas began to flow as I played about with texture.
|
 |
| A bit of string theory followed... |


 |
| I added oxides... |
 |
| Here they are after firing. Now they need a glaze. |
I can't wait to see the finished result - they'll be going up on the wall when I have my place.
Sunday, 28 April 2013
Soap Carving...
 |
| This bear was made with the Tesco Basic Soap. I ran out of room when I got to the head. |
I do not pretend to be any kind of expert in this - it's just something I like to have fun with, now and again.
You don't need any specialist tools - I use an old vegetable knife - one that's not too sharp because anything with too much of an edge to it will cut in too deeply when you don't want it to...
The soap, however, is a different kettle of fish. If it's hard and crumbly it's no fun at all to use.
I was chuffed to find Tesco's own brand.
It's soft, is a nice blocky shape to begin with (no brand name as such to get rid of before you start) and best of all, it only cost me 11p.
None of it got wasted - the chips have already been melted down to make another bar of soap - but more on that another day.
 |
| My first attempt, years ago - bear with me - the one on the left. You can still see the brand name on his side. The green dolphin was mad with Fairy soap. That was nice, once I'd got the writing off. |
Wednesday, 13 February 2013
Tarn it! Tee-Shirt Yarn.
OK, so this is going to be a scarf at some point, and it's not a tee-shirt - it's the bottom of a skirt, but you'll get the picture.
There are other, faster ways of producing tarn, but this is my preferred method.
Are you ready?
There are other, faster ways of producing tarn, but this is my preferred method.
Are you ready?
 |
| Here's the bottom two tiers of an old frilly skirt. I kept the top half. |
 |
| I'll need to remove the elastic and the gathering. |
 |
| Cut in a long spiral, starting with a little curve. Here, I'm aiming for a strip around 2cm (one inch) wide. Take huge care not to cut anything underneath your work! |
 |
| You can see the curved initial cut. Some fabric curls nicely. More on that later. |
 |
| That curling can be a pain when cutting - use your thumb to keep it flat. If you don't, you won't be able to see to keep the strip an even width. |
 |
| I've reached one full circuit. Just negotiate the 'bend' and keep going. |
 |
| You can trim that 'ugly' bit, or just let it curl up and hide. |
 |
| OK, so the other hand is holding the camera, but a gentle pull... |
 |
| ...and the tarn curls and stretches by about a third. Don't pull too hard - you don't want to split those seams. |
 |
| Yay! |
Saturday, 19 January 2013
Why Dental Floss is in my Sewing Kit
I like this. It's a strong thread, with its own cutter and I use the dimple formed by the spool as a kind of thimble, to help push a reluctant needle thro' tough material.
Yes. I know the stitching's not perfect...
Yes. I know the stitching's not perfect...
 |
| A cutter... |
 |
| ... a thimbly thing... |
 |
| ... and strong thread. Mint(y). |
Friday, 4 January 2013
It's a Wind Up - Nostepinne Hints
I'd made a huge boo-boo and had to unravel my three metre cardigan - honest, my gauge was way off. As I'd already russian-joined at least twice, that was a lot of yarn.
I'm using a seed dibber (from Wilko's in the UK) with the end taken off, and smoothed over with Sugru. As you can see, it's not all that big.

There are three things which help to keep yarn cakes from looking like olives... the first is to start with a wide base. This is done by twirling the nosty and wrapping the yarn in such a way as to make a foundation layer.

I'm using a seed dibber (from Wilko's in the UK) with the end taken off, and smoothed over with Sugru. As you can see, it's not all that big.

 |
| Making the foundation layer |
 |
| Wrap the yarn 'wood to wood', twirling the nostepinne towards you as you work. |
 |
| OK, so one hand is holding the camera, but placing a hand either side of the cake and squishing them towards each other will round it up. |
 |
| It's getting big. Notice the yarn tail is tucked out of the way under an elastic band on the handle. |
 |
| Now, instead of working 'wood to wood', change the angle a bit, to something more upright. This creates a 'shoulder' and stops the yarn from slipping. |
 |
| Nearly done. For the last few wraps, place your thumb on the yarn and work at right angles to the nostepinne. |
 |
| Grab the tail... |
 |
| ... and tuck it under the final wraps... |

 |
| Remember to remove the starter tail of the yarn from the elastic band... |
 |
| ... and slide the cake from the nosty. Ta daaaaaa! One centre-pull ball. |
Saturday, 29 December 2012
The Crocheted Scarf has Morphed

Thursday, 27 December 2012
Crocheted Scarf from a Knit Kit.

It kept coming off the back of the needles and I just couldn’t see what I was doing, so in the end I frogged it and made a scarf on a huge crochet hook - a 20mm, I think.
I made about 20 chain (I wasn’t counting), went into 4th ch from hook, worked a Double Treble (UK, wrap twice) into every other one, ending up with 8 DTR. I just worked rows after that. Putting a gap between the sts in the first row meant it didn’t bunch up. I just couldn’t do the chain loose enough otherwise. Every other row was worked straight.


I'm not complaining - I never complain about yarny gifts.
Friday, 21 December 2012
A Jewellery Holder - After a Fashion
 |
Take one cork mat - courtesy of Clas Ohlson. Work a number of chain, slip stitch join, then 3 ch for your first treble (US DC).


Was it worth it? Not sure... I did think of poking the brooches directly into the cork, but I think that would have damaged them.
Wednesday, 19 December 2012
Travelling Nostepinne

They make great nostepinnes (yarn winders), are lightweight with some storage, too. I can put darning needles, beads, stitch markers etc inside, and the dessicant gizmo in the cap helps keep things dry.
When I'm winding, the closed cap can hold on to the tip of the yarn end, making centre-pull that much easier.
Love it.
Wednesday, 5 December 2012
The Broomstick How-To - Left-Handed...
 |
| Five loops (top), and three loops. See the difference? |
Broomstick crochet has many uses - as well as scarves, shawls, bags and blankets, it can form a panel in the middle of a project, or one row alone could be used as a bracelet.

Chain your required number, plus one. How many do you need? First, decide how many loops are going in each group. Three, four or five is the usual, but there's nothing to stop you doing any other number, as long as it works for you and the look you want.
Say we are going to go for three loops. I would want a multiple of three, plus one. The 'one' is for the first DC (US SC). I have worked 16 ch here - which means, if I want to, I can do five in each loop,

Turn, and work back in DC. You should have fifteen sts.


There it is. Needs to slide a bit further on to the needle.

Put your hook into the next stitch, and bring up another loop.

Pull...

Slide on to the needle...

...and again...

...all done.

I've grouped them into three, with my fingers, just sliding them along.

If you're feeling bold, you can take the needle out altogether for the next step... but if you're not confident yet, or may have to leave your work, then leave 'em on the needle.


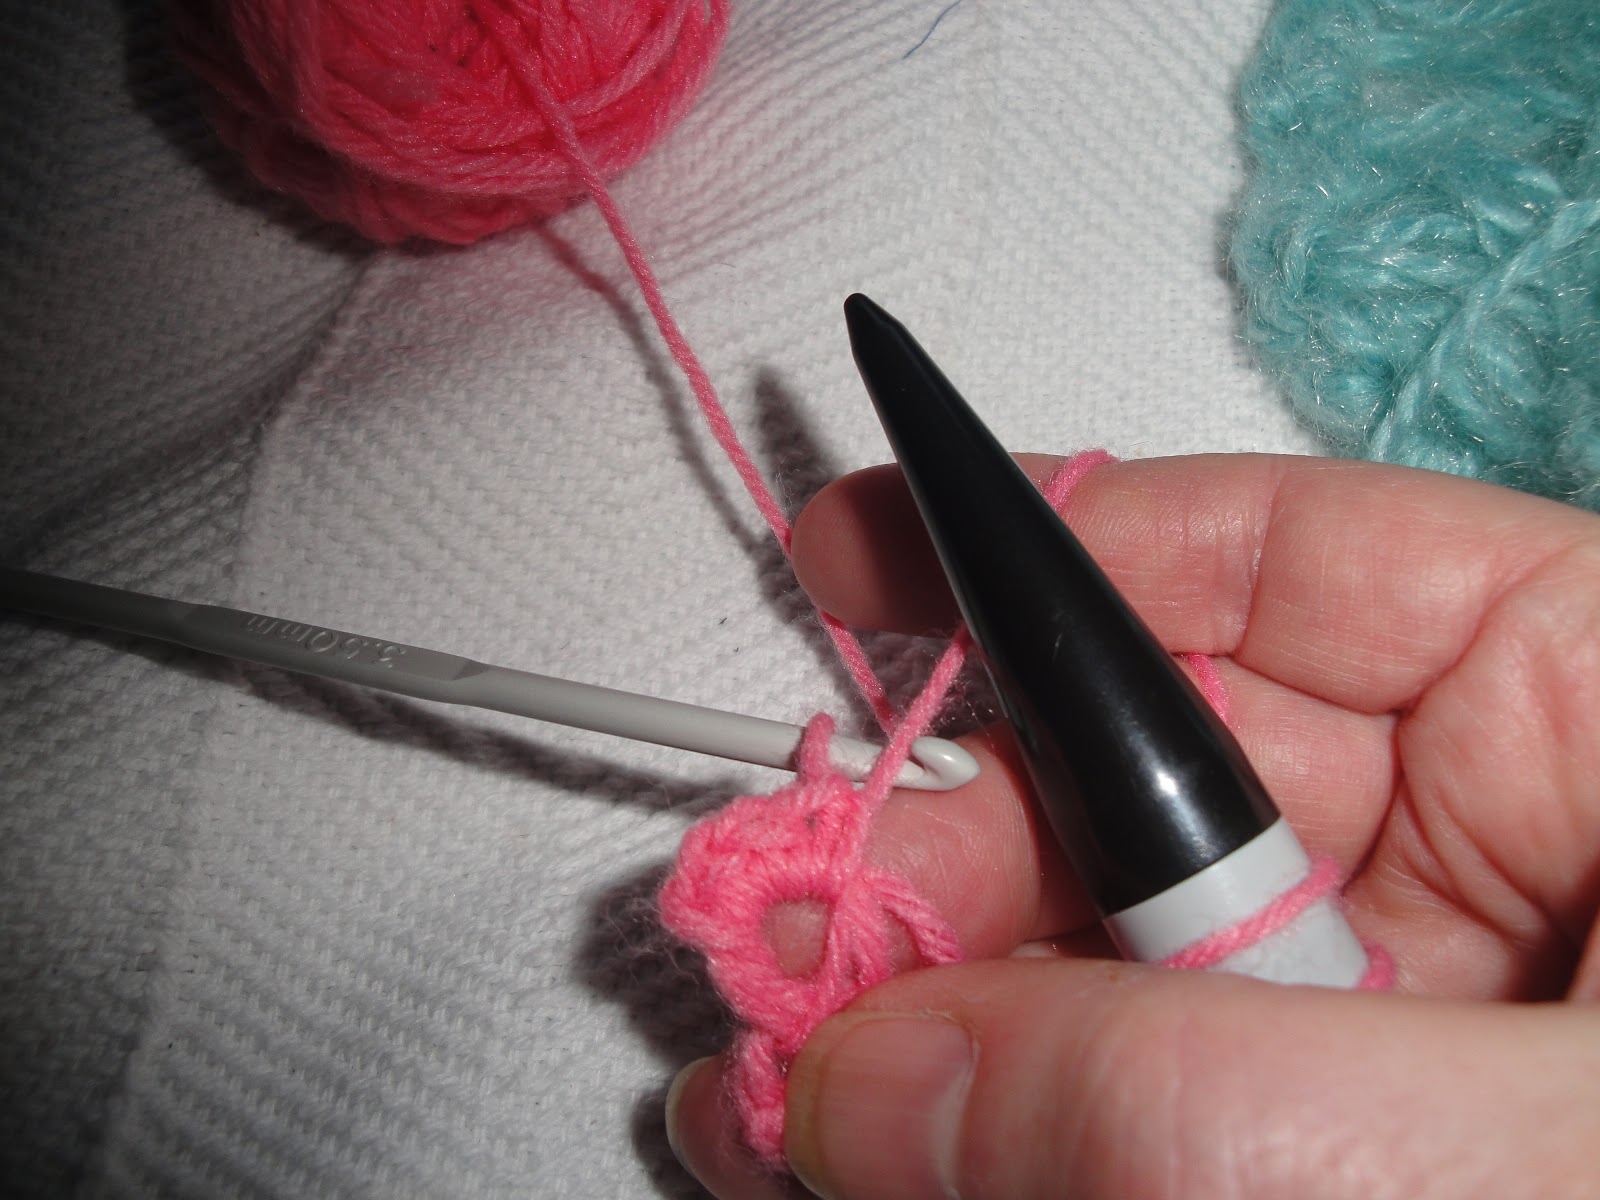
There's our three.

Same with the next group.


All the way to the end, and here's your loop pulled up ready to put on the needle. Just remember to keep your count right.
Subscribe to:
Posts (Atom)